
Read this blog post if you’d like to build or replace an 3.5mm / audio / phone jack.
The right channel in my speakers wouldn’t working unless I wiggled the cable. Eventually it completely stopped working. The other end of the audio cable was embedded into the volume controller, which meant that I needed to either replace the whole unit or attempt fixing the cable myself.
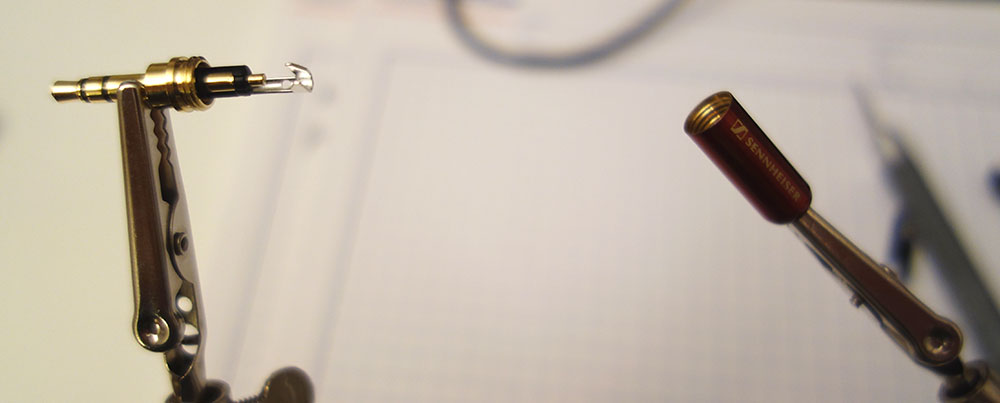
I picked up a Sennheiser 3.5mm jack from the local electronics store for roughly one dollar. Update: recently I had to re-do it and found jumbo sized jacks on Amazon. The bigger connector the easier it is to work with it!

The casing unscrews and reveals the connectors.
Cut the faulty jack and strip the wires. The red and white audio wires were too small for the wire strippers, and too fragile to be stripped with the sharp part of strippers. I pinched the wire casing with nails and stripped it manually.
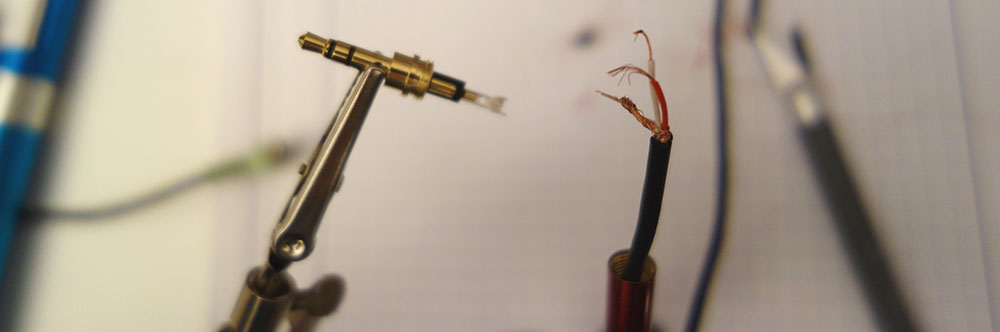
Notice in the photo above that the jack casing went over the wires and stays around the cable.
Also in the photo, the wires are too long to fit into the casing. Trim the wires so that they are are not longer than what’s necessary:
The red cable carries signal for the right channel, and should be the longest. The white (sometimes black) cable that carries signal for the left channel should be shorter, just to reach and wrap around its connector.
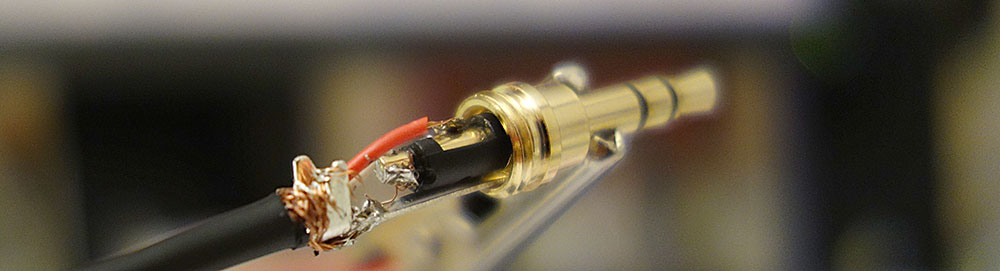
The ground wires are the shortest, since their connector is the closest one. However, the ground wires also give the jack its structural integrity, so make sure to have enough wire for a solid soldering joint. I passed the ground wires through the hole in the connector and left solder in this hole.

Place the wires in the correct spots. Use a precise tool (e.g. a tip of the knife) to wrap the wires around the connectors. It will make it easier to keep them in correct place when soldering.
You can now test the connection. Turn the speakers on. When you probe the jack with a finger or a hand-held metal tool, make sure that you hear a buzzing sound in correct channels. Turn the speakers off before soldering.

When soldering, heat up the connector and the wires, and then apply solder over the hot metal. Use the alligator clips to hold the pieces in place. Try not to touch the plastic with the iron.
I found the most difficult connection to be the right channel - the connector is large and rather flat. The easiest connection was the ground, because the connector had a hole to loop the wire through. Ground connection is very important because it gives the structural integrity to your creation; the audio carrying cables come off easily as thy don’t have anything to latch onto.
Screw the jack casing over the connections you’re ready to go!